
Search LEMIX Products
Learn how to tighten extruder screws correctly during assembly, avoid over-tightening, understand screw-to-barrel clearance, and use cleaning, wear inspection, and LEMIX support for stable extrusion and longer service life.
Category:Maintenance & Quality Control
Author:LEMIX Admin
Date:2026-07-30
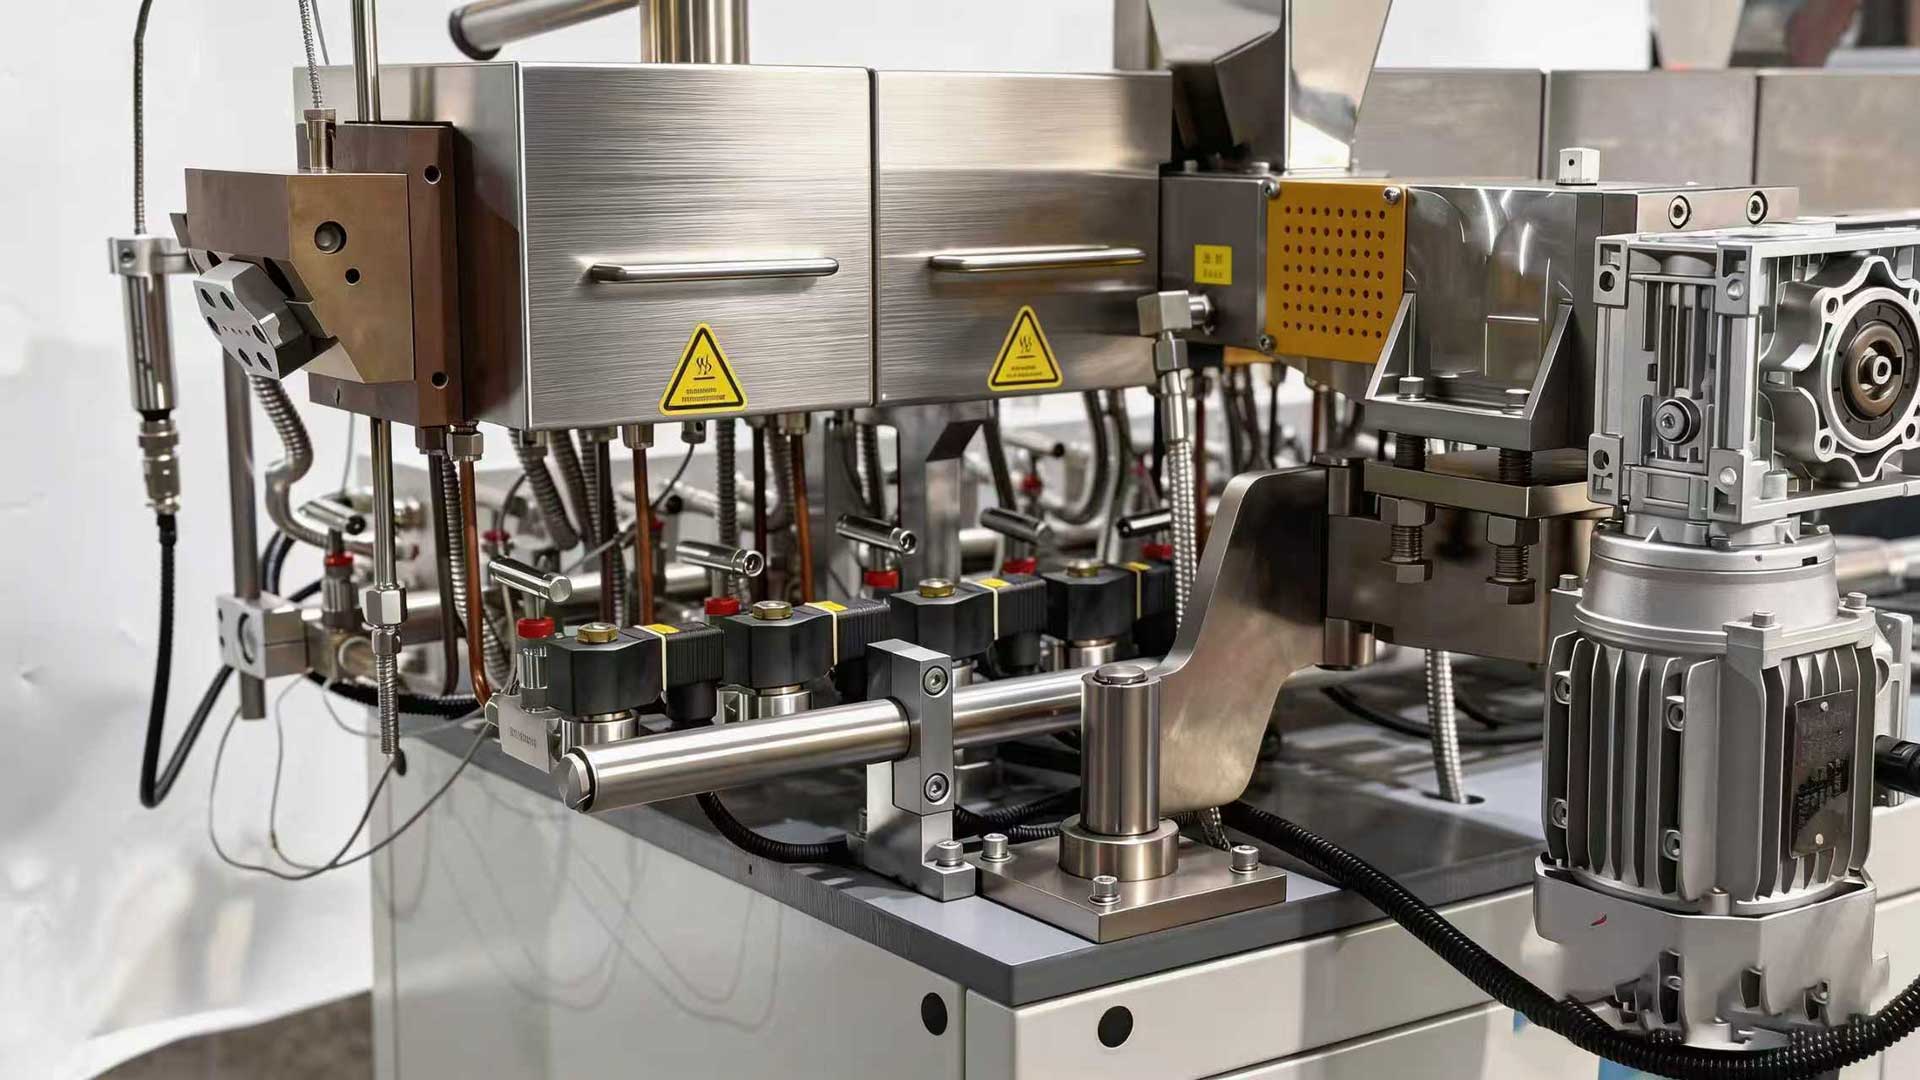
An extruder screw should be tightened only to the machine maker’s specified assembly torque or axial preload. It should not be forced tighter to remove clearance. Correct tightness keeps screw elements seated, shafts protected, rotation free, and screw-to-barrel clearance within design limits.
No. Screw tightness and screw-to-barrel clearance are different issues.
Screw tightness usually means how firmly the screw assembly, screw elements, adapters, couplings, end nuts, or retaining parts are fixed during assembly. It is related to torque, axial preload, element seating, spline fit, and shaft protection.
Screw-to-barrel clearance means the designed gap between the screw flight and the inner barrel wall. This clearance is set by the extruder design, screw diameter, barrel bore, metallurgy, wear condition, and thermal expansion. It should not be adjusted by simply tightening the screw.
If an extruder screw feels “too tight” against the barrel, the problem may be alignment, wear, residue, incorrect assembly, wrong screw element position, barrel deformation, or thermal expansion. The correct response is inspection, not extra force.
In a twin screw extruder, correct tightness means the screw elements are fully seated on the shaft, the assembly is locked according to the machine manual, and the screws can rotate without abnormal resistance.
A twin screw extruder often uses modular screw elements mounted on splined shafts. Each element must be installed in the correct order and direction. The element stack should be tight enough to prevent axial movement during operation, but not so tight that the shaft, spline, thread, spacer, or end part is overloaded.
Correct assembly should achieve four results:
The screw elements do not move during operation.
The shaft and spline are not damaged by overloading.
The two screws remain properly timed and aligned.
The screws rotate freely inside the barrel without metal contact.
The correct tightening value depends on the extruder model, screw diameter, shaft design, element structure, thread size, material, and manufacturer specification.
No. An extruder screw should not touch the barrel during normal rotation.
Extruder screws are designed to run with a controlled clearance. This clearance allows material to be conveyed, sheared, melted, mixed, or discharged without metal-to-metal contact. If the screw touches the barrel, the machine can suffer scoring, barrel wear, screw wear, high torque, abnormal noise, overheating, metal contamination, or serious mechanical damage.
Metal contact may happen when:
The screw is bent.
The shaft is damaged.
The screw elements are assembled incorrectly.
The barrel bore is worn or deformed.
The screws are not timed correctly.
Material residue blocks the bore.
Thermal expansion is not considered.
Bearings or gearbox alignment are abnormal.
A screw that touches the barrel should be stopped and inspected before production continues.
A loose screw assembly can cause axial movement, vibration, unstable torque, poor self-cleaning, uneven mixing, and mechanical damage.
In modular twin screw systems, loose elements can move against each other during operation. This movement can damage the spline, element face, spacer, or end nut. It can also change the designed screw geometry. When the screw profile shifts, the material may not move through the barrel as expected.
A loose assembly may cause:
Rattling or knocking noise
Torque fluctuation
Screw element face wear
Poor mixing or dispersion
Unstable pressure
Reduced conveying efficiency
Shaft or spline damage
Element cracking
Shorter screw service life
Loose assembly is especially risky in high-torque compounding, high-filler processing, glass fiber reinforcement, thermoset compounding, PVC processing, recycling, and engineering plastic production.
An over-tightened screw assembly can damage threads, shafts, splines, spacers, screw elements, couplings, or end-retaining parts. It may also make disassembly difficult during later maintenance.
Over-tightening does not improve extrusion quality. It does not fix barrel wear. It does not improve screw-to-barrel clearance. It may create new mechanical risk.
Possible results include:
Thread damage
Shaft stress
Spline deformation
Element cracking
Difficult screw removal
Misalignment
Higher bearing or gearbox load
Abnormal rotation resistance
More difficult maintenance
If the required torque feels unusually high during assembly, the cause should be checked. Common causes include dirt on the shaft, polymer residue inside element bores, damaged splines, wrong element order, wrong spacer, burrs, corrosion, or incorrect tooling.
The tightening value should come from the extruder manufacturer, screw supplier, or maintenance manual. There is no universal torque value that fits every extruder screw.
The correct value depends on:
| Factor | Why It Matters |
|---|---|
| Screw diameter | Larger screws usually need stronger assembly support |
| Shaft design | Spline geometry and shaft material affect load capacity |
| Thread size | Thread strength limits the safe tightening range |
| Screw element material | Brittle or coated elements may need careful handling |
| Element stack length | Longer assemblies need better axial seating |
| Process torque | High-torque operation increases load on the stack |
| Operating temperature | Thermal expansion affects final assembly condition |
| Extruder brand and model | Each design has its own tightening procedure |
If the manual does not provide a value, the supplier should confirm the correct assembly torque, lubrication requirement, tooling method, and inspection procedure before the screw is run.
Before tightening, the screw parts should be clean, dry, and inspected. Residue, dust, corrosion, or burrs can create false resistance during assembly.
A practical inspection should include:
Check the shaft for spline damage.
Check screw elements for cracks or deformation.
Clean polymer residue from element bores.
Confirm the correct screw element sequence.
Confirm element direction.
Check spacers, keys, end nuts, and adapters.
Inspect thread condition.
Remove burrs only with approved tools.
Confirm that the assembly surface is not contaminated.
Use the specified assembly tooling.
The screw should not be forced together if one element does not slide into position. A tight-fitting element may indicate residue, wrong orientation, shaft damage, or machining mismatch.
The screw should be tightened gradually with the correct tool and the specified method. A calibrated torque wrench, hydraulic tool, heating method, or special assembly fixture may be required depending on the extruder design.
A safe assembly sequence usually follows this logic:
Clean all screw elements and shafts.
Confirm the screw configuration drawing.
Install elements in the correct order and direction.
Seat each element fully.
Check for burrs, residue, or misfit.
Apply specified lubrication if required by the manual.
Tighten the retaining part to the specified value.
Rotate the screw by hand or low-speed jog when allowed.
Check for abnormal resistance or contact.
Record the assembly details for maintenance history.
Impact tools should not be used unless the manufacturer specifically allows them. Excessive impact force can damage threads, shafts, bearings, or element faces.
A screw may be too tight or incorrectly assembled if it does not rotate freely after installation. The problem should be checked before feeding material into the extruder.
Warning signs include:
| Sign | Possible Cause |
|---|---|
| High no-load torque | Metal contact, misalignment, incorrect assembly |
| Scraping noise | Screw-barrel contact or element contact |
| Sudden resistance during rotation | Residue, wrong element, barrel obstruction |
| Abnormal vibration | Shaft or coupling issue |
| Local heating without material | Mechanical friction |
| Difficult screw insertion | Barrel residue, bent screw, wrong assembly |
| Gearbox load increase | Alignment or bearing issue |
A screw that feels mechanically tight should not be “run in” under load. Running the machine with metal contact can quickly damage the screw and barrel.
A loose screw assembly may not be obvious at start-up. It may appear after the machine begins running under torque and temperature.
Common signs include:
Knocking sound during load change
Unstable torque
Screw element face wear
Sudden product quality drift
Unstable melt pressure
Metal particles in product
Poor dispersion
More frequent element damage
Difficult disassembly due to shifted elements
If the same screw configuration worked well before but begins to show these signs, the maintenance team should check assembly tightness, element wear, shaft condition, barrel wear, and gearbox alignment.
Yes. Polymer residue can make screw elements hard to remove or install. It can also make the screw feel tight inside the barrel.
Residue may stay on the screw root, element face, spline area, die plate, breaker plate, vent block, or barrel bore. When this residue cools and hardens, it can act like a mechanical obstruction. In some materials, carbonized residue can also scratch precision surfaces.
Forcing the screw through hardened material can damage the screw surface, barrel liner, spline, or assembly threads. The correct method is to clean the screw and related components before assembly.
LEMIX PRO-COOL Screw Cleaning Machine uses automatic high-pressure water cleaning for extruder screws and extrusion components. It can clean screws, die plates, breaker plates, shafts, nozzles, mandrels, and other tooling parts without flame burning, manual brushing, toxic smoke, or surface damage.
Internal link: PRO-COOL Screw Cleaning Machine
Barrel wear does not directly change screw assembly torque, but it can affect how the screw runs inside the barrel. A worn barrel changes the clearance between the screw and barrel. It can reduce conveying efficiency, weaken pressure stability, and increase process fluctuation.
A deformed or locally damaged barrel may also create abnormal resistance. In severe cases, the screw may contact the barrel in worn, shifted, or damaged areas. This can make the operator think the screw is too tight, when the real problem is barrel condition.
Barrel wear should be measured when the line shows:
Unstable output
Higher torque
Pressure fluctuation
Poor mixing
More black specks
More product defects
Abnormal screw-barrel contact
Repeated screw damage
LEMIX PROMAC-S Barrel Wear Measurement Device uses inside laser equipment and 360° rotating inspection to measure barrel wear, diameter changes, and inner surface condition. This helps maintenance teams decide whether the barrel can keep running or needs replacement.
Internal link: Barrel Wear Measurement Device PROMAC-S
Yes. Thermal expansion affects extruder screw assembly and screw-to-barrel clearance.
Extruder screws, shafts, barrels, and retaining parts expand when heated. Different materials and different components may expand at different rates. A screw that feels acceptable at room temperature may behave differently at processing temperature.
This is why the manufacturer’s tightening procedure matters. Some designs may require warm assembly, controlled heating, hydraulic tightening, special retaining parts, or a specific recheck procedure. Other designs may require room-temperature assembly only.
Operators should not create their own tightening rules without engineering confirmation. Incorrect tightening under the wrong temperature condition can lead to loose elements after heating or excessive stress during operation.
Yes. Single screw and twin screw extruders have different assembly structures.
A single screw is often one continuous screw body. The main concerns are drive coupling fit, thrust alignment, straightness, screw-barrel clearance, and safe installation into the barrel.
A twin screw extruder usually has two modular screw assemblies. The main concerns include element order, spline fit, axial tightening, screw timing, element engagement, shaft condition, and clearance between two screws and the barrel.
Twin screw assembly usually needs more careful configuration control because a wrong element position or wrong timing can cause screw-to-screw contact, barrel contact, or poor process performance.
A screw assembly record helps maintenance teams diagnose future problems. It also helps improve repeatability when the same process is run again.
A useful record should include:
Extruder model
Screw diameter
Screw configuration drawing
Screw element order
Shaft number
Assembly date
Tightening method
Torque value or preload value
Lubrication condition if used
Operator or technician name
Cleaning method
Visible wear or damage
No-load rotation check
Start-up torque
Process material after assembly
This record becomes useful when the line later shows torque change, noise, output drift, or product defects.
The supplier should be contacted when the correct tightening value is missing, the screw does not rotate freely, the screw elements do not seat correctly, or the line shows repeated assembly-related problems.
Supplier support is especially important when:
A new screw configuration is installed.
A different material is processed.
High-torque operation is planned.
The screw has been repaired or rebuilt.
The barrel has been relined or replaced.
The extruder shows screw-barrel contact.
Elements crack or shift during operation.
The assembly torque feels abnormal.
LEMIX provides twin screw extrusion systems, screw elements, barrels, shafts, gearboxes, screw cleaning equipment, screw disassembly equipment, barrel wear detection, and technical support. This makes it possible to review screw assembly, component condition, and maintenance planning as one complete extrusion system.
Internal link: Twin Screw Extruder
LEMIX supports screw assembly and maintenance through precision Spare Parts, extrusion equipment, screw cleaning systems, screw disassembly support, barrel wear inspection, and technical service.
Correct screw tightness depends on more than a tightening action. It depends on clean screw elements, accurate shaft fit, correct screw configuration, good barrel condition, stable gearbox alignment, and proper maintenance tools.
Relevant LEMIX support includes:
Twin screw extruders for compounding and continuous processing
Screw elements, barrels, shafts, and related spare parts
PRO-COOL Screw Cleaning Machine for non-destructive cleaning
PROMAC-S barrel wear measurement device for bore inspection
Technical service for maintenance, inspection, refurbishment, and upgrades
Relevant pages:
An extruder screw should be tight enough to keep the screw assembly seated and secure under operating load, but it should never be forced beyond the manufacturer’s specified torque or preload. Correct tightness protects the shaft, screw elements, threads, splines, barrel, gearbox, and product quality.
Screw tightness should not be confused with screw-to-barrel clearance. Clearance is a design and wear condition, not an adjustment made by over-tightening the screw. If the screw feels too tight, the maintenance team should check residue, element order, shaft condition, screw timing, barrel wear, alignment, and thermal expansion.
A reliable extrusion maintenance plan should combine correct assembly procedure, clean components, measured barrel condition, suitable spare parts, and technical support. This helps reduce mechanical damage, unstable torque, screw-barrel contact, and unplanned downtime.